
Choosing the Right Hydrangea for Your Garden
When it comes to selecting the perfect hydrangeas for your garden, it’s crucial to choose a variety that will flourish in your specific growing zone and soil conditions. There are numerous varieties to consider, each with unique characteristics and requirements. Popular options like bigleaf, oakleaf, panicle, and smooth hydrangeas differ in aspects such as cold hardiness levels, bloom times, and soil pH preferences. To ensure the success of your gardening endeavor, it’s advisable to consult the USDA Plant Hardiness Zone Map and conduct thorough research on each type of hydrangea you’re considering.
Bigleaf hydrangeas (Hydrangea macrophylla), for instance, are known for their large, showy, globe-shaped blooms that come in a range of hues including pink, blue, or purple. These stunning flowers can transform any garden into a vibrant display of color. Bigleaf hydrangeas require rich, moist soil and do best in zones 5-9, making them a versatile choice for many gardeners. Oakleaf hydrangeas (Hydrangea quercifolia), on the other hand, are prized for their distinctive cone-shaped, white flowers and their brilliant fall foliage that adds a touch of autumnal charm to your garden. Hardy in zones 5-9, they prefer moist, well-drained soil and can provide a striking visual interest throughout multiple seasons.
Meanwhile, panicle hydrangeas (Hydrangea paniculata) are exceptionally cold hardy, able to withstand the chill down to zone 3. They are a robust choice for gardeners living in cooler climates. These hydrangeas thrive in full sun and require moist, fertile soil to produce their characteristic large, pyramid-shaped flower clusters. Additionally, smooth hydrangeas (Hydrangea arborescens) are another option, known for their large, round flower heads and adaptability to a wider range of soil types. They are cold hardy to zone 3 as well and can thrive in both sun and partial shade, making them a flexible addition to various garden designs.
Preparing the Planting Area
Once you’ve chosen the ideal hydrangea variety for your garden’s conditions, the next step is to prepare the planting site meticulously. Hydrangeas generally need at least 6 hours of sunlight daily to bloom profusely, though some varieties can tolerate partial shade. It’s essential to amend the existing soil with organic matter such as compost or leaf mold to improve drainage and increase nutrient content. This step is particularly important as hydrangeas thrive in soil that is rich and retains moisture without becoming waterlogged.
Testing the soil pH is also a critical step in the preparation process, as most hydrangeas prefer slightly acidic conditions with a pH range between 5.5 and 6.5. If the soil in your garden is too alkaline, you can lower the pH by adding aluminum sulfate, which can also help to intensify the blue coloration in certain hydrangea varieties. Conversely, if you desire pinker blooms, you can add lime to increase the soil’s pH.
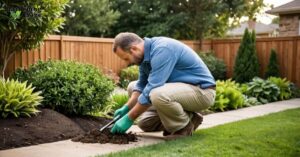
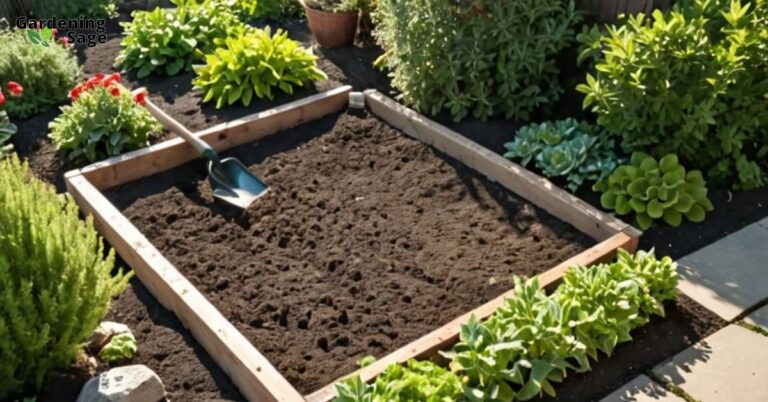
When it comes to planting, dig a hole that is 2-3 times wider than the hydrangea’s root ball but no deeper. This practice ensures that the roots have ample room to spread out and establish themselves without being too deep, which can lead to water accumulation and potential root rot. Space multiple plants 3-10 feet apart, taking into account their mature size to prevent overcrowding and ensure proper air circulation. After planting, surround the cleared planting area with a generous layer of mulch to retain moisture, regulate soil temperature, and suppress weed growth. Organic mulches like shredded bark or straw are excellent choices as they break down over time, adding nutrients back into the soil.
Planting and Initial Care
With the planting site ready, carefully remove the hydrangea from its nursery pot, taking care not to damage the delicate roots. Gently loosen any tangled or matted roots to encourage outward growth once in the ground. Place the hydrangea in the prepared hole, ensuring that it is situated at the same depth it was growing in the pot. Backfill the hole with your amended soil mix, gently firming the soil around the base of the plant to eliminate air pockets and provide stability.
After planting, water the hydrangea thoroughly, ensuring the soil is moist but not waterlogged. A proper watering regimen is crucial for establishing new plants. Apply a 2-4 inch layer of shredded bark mulch around the plant, which will help to maintain soil moisture and temperature, as well as prevent weed growth. Be sure to leave about 6 inches of space around the stem to prevent potential rot and disease issues.
For taller hydrangea varieties, consider staking them for support during their first year to help them withstand wind and heavy rain. Pruning should be minimal immediately after planting, focusing only on removing dead or damaged stems to promote healthy growth. Throughout the first summer, water new hydrangeas deeply 1-2 times per week, depending on rainfall, to encourage deep root development. As the plants establish, they will become more drought-tolerant. Additionally, removing faded flowers can encourage some varieties to rebloom, extending the flowering season. With proper initial care, including appropriate watering, mulching, and pruning practices, your hydrangeas will soon become a thriving and enchanting feature of your garden landscape.

