Preparing Your Garden Bed for Azaleas
Azaleas are a popular flowering shrub known for their brilliance of color and ability to thrive in shady areas. These vibrant plants can transform your garden into a tapestry of colors ranging from white to pink, red, and purple. Before planting your azaleas, some advance preparation of your garden bed will ensure your shrubs get off to the best start and continue to delight you with their blooms for years to come.
Selecting the Right Location
Choosing the perfect spot for your azaleas is crucial for their success. Azaleas prefer morning sun with afternoon shade, so identify a garden spot that gets 4-6 hours of sunlight daily. This balance of light is essential to protect the plants from the harsh afternoon sun while providing enough light for healthy growth. Well-drained, acidic soil enriched with organic matter is ideal for azaleas. They thrive in soil that is rich in nutrients and has good aeration. Test your soil’s pH using a soil test kit available at most garden centers, and amend with sulfur to reach an optimal acidic level between 4.5-6. This pH range is where azaleas can best absorb nutrients from the soil.
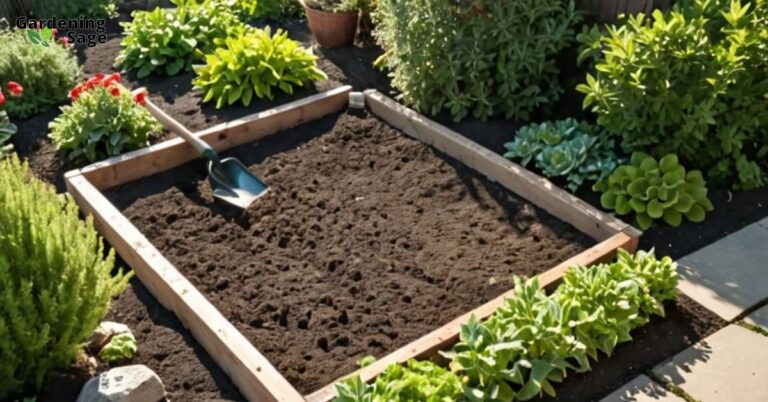
Digging the Planting Hole
When it’s time to plant, dig a hole that is 2-3 times wider than the azalea’s root ball but no deeper than the height of the root mass. The width of the hole is important as it allows you to amend the native soil with organic material to improve drainage and root spread. Avoid digging too deep which can cause the plant to sink lower than its original growing level, potentially leading to waterlogging and root rot. The correct depth ensures that the top of the root ball is level with or slightly above the surrounding soil, promoting better establishment and growth.
Preparing the Soil
The soil preparation is a key step in ensuring the health and longevity of your azaleas. Mix the soil removed from the hole with peat moss, compost, pine bark fines, or other organic matter to create the amended backfill. This mixture will lighten the soil texture for improved drainage and aeration, which is essential for the roots to develop and for the overall health of the plant. You can also blend in an acidic fertilizer made for azaleas to give your plants a head start by providing essential nutrients that encourage vigorous growth and abundant flowering.
Setting the Plant
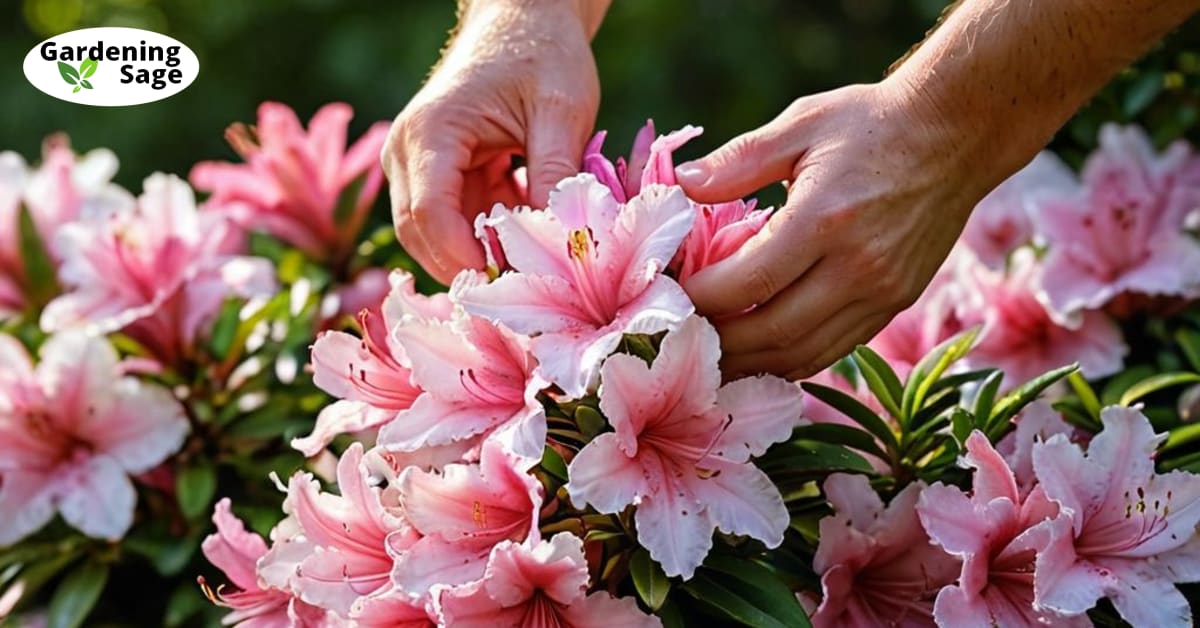
Carefully place the azalea in the hole, positioning it at its original growing depth. This is crucial to avoid burying the plant too deep, which can be detrimental to its health. Spread the amended soil around the root ball, filling in gaps and firming the soil gently with your hands to eliminate air pockets. Water thoroughly after planting to settle the soil and provide the necessary hydration for the azaleas to start establishing their roots in their new environment.
Caring for Azaleas After Planting
With the right care after planting, your azaleas will flourish and reward you with gorgeous blooms. These plants are not only beautiful but also relatively low maintenance when established. Follow these tips for ongoing success with your azaleas, and you will enjoy their stunning display year after year.
Watering
Water azaleas thoroughly after planting and provide weekly deep watering during the first year to help establish a strong root system. Established azaleas need about 1-1.5 inches of water per week, depending on the weather conditions. During dry spells, it’s important to water the plants more frequently to maintain the moisture level that azaleas prefer. Be sure to water the base of the plant and avoid wetting the foliage, as this can lead to fungal diseases.
Fertilizing
Feed azaleas in early spring and mid-summer with an acidic fertilizer formulated specifically for the plant. Slow-release options provide nutrients over an extended period, which is ideal for consistent growth and blooming. Be careful not to over-fertilize, as this can lead to salt buildup in the soil and damage the azaleas. Always follow the instructions on the fertilizer package for the correct application rates.
Pruning
Prune azaleas after flowering by selectively removing dead wood and shaping the shrubs. This not only maintains the desired shape and size of your azaleas but also encourages new growth and more prolific blooming in the following season. Avoid heavy renovative pruning which can sacrifice blooms for a year or more. If such drastic pruning is necessary, do it sparingly and over several seasons.
Mulching
Apply 2-4 inches of pine bark mulch around azaleas, leaving a few inches bare near the stem to prevent rot. Mulch conserves moisture, cools roots, and improves soil as it decomposes, adding to the organic content of the soil. It also helps suppress weeds that can compete with azaleas for nutrients and water. Replenish the mulch as needed, usually once a year, to maintain its benefits.


