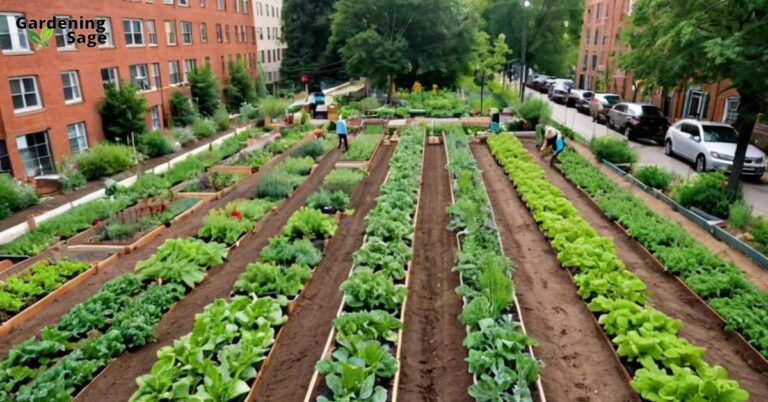
Embarking on Your No-Till Gardening Journey
No-till gardening, also known as “no-dig gardening,” has taken the gardening world by storm in recent years. This revolutionary technique minimizes soil disruption and allows gardeners to plant directly into the earth without excessive digging or tilling. As a chemical-free, low-impact method, no-dig gardening has clear benefits for the health of your plants and the planet. If you’re ready to ditch your spade and try your green thumb at this cutting-edge gardening trend, read on to learn the fundamentals of building a gorgeous no-dig garden from scratch.
Understanding the Basics of No-Dig Gardening
At its core, no-dig gardening seeks to work in harmony with nature rather than disrupt it through intensive digging and soil turnover. When soil is repeatedly tilled or turned over, its structure and microbial life can be severely damaged, hindering nutrient availability and moisture retention. The no-dig method prevents this degradation by limiting digging to only directly where each plant will be placed.
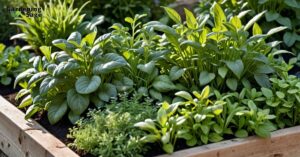
The soil is never left bare in a no-dig garden. Instead, beds are covered with thick layers of organic mulch, such as wood chips, leaves, straw, or compost. This protective blanket suppresses weeds, retains moisture, and encourages microbial activity. With each season, new layers of mulch are placed right on top, allowing the underlying soil to remain undisturbed and teeming with life.
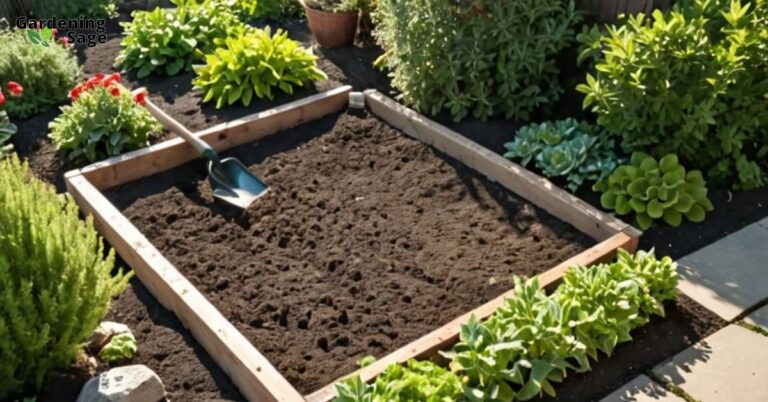
Starting Your No-Dig Garden
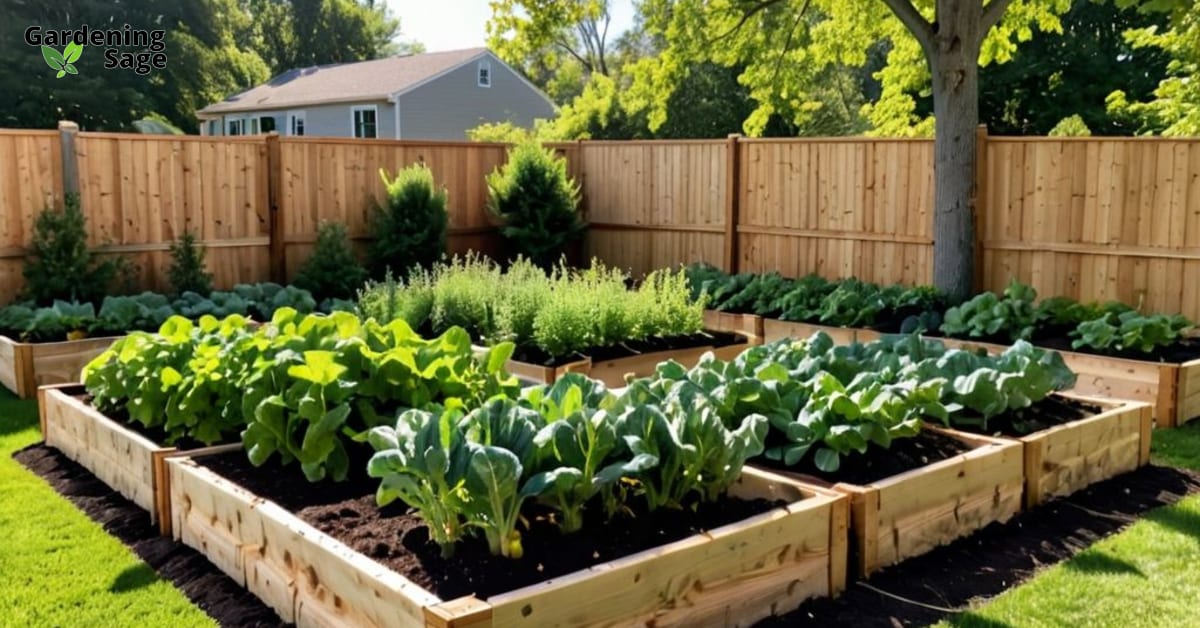
When first establishing a brand new no-dig garden, the area must be cleared of grass, weeds or debris. Apply 4-6 inches of compost or other organic matter and level it out. Then add a 3-4 inch layer of mulch such as wood chips or straw on top. The compost will enrich the native soil while the thick mulch protects it from compaction.
If building a no-dig garden bed, construct the frame directly on top of the ground. Fill it with the same layers of compost and mulch. Leave 8-12 inches between beds so you can reach in to tend plants without stepping on the soil. Pathways can be covered in wood chips, gravel or landscaping fabric.
Planting Your No-Dig Garden
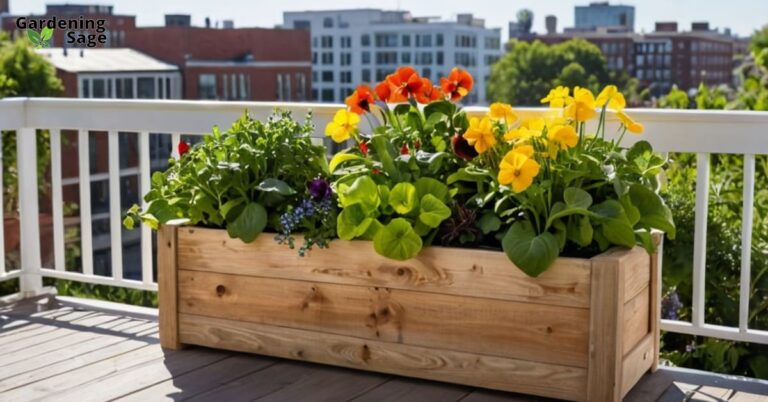
One of the joys of no-dig gardening is how easy it is to tuck plants into the welcoming environment you’ve created. Using your finger or a narrow trowel, make a small hole in the mulch and compost layers where each plant will go. Place young starts or seeds in the holes and fill in the gaps with extra compost or mulch. That’s all it takes to get your no-dig garden growing!
The thick mulch layers will naturally smother out weeds while retaining moisture and nutrients for plant roots. Just replenish the mulch as needed each season. By keeping the soil protected and minimally disturbed, your no-dig garden will grow healthier and stronger year after year.
Reaping Nature’s Bounty from Your No-Dig Garden
Adopting the no-dig gardening method brings lasting rewards. You’ll be amazed at how your plants thrive in the balanced, nourishing environment you’ve created. Without compacted soil inhibiting them, plant roots can spread unimpeded, accessing more nutrients and anchoring themselves strongly. This leads to faster growth, bigger yields, and less need for fertilizers or pest control.
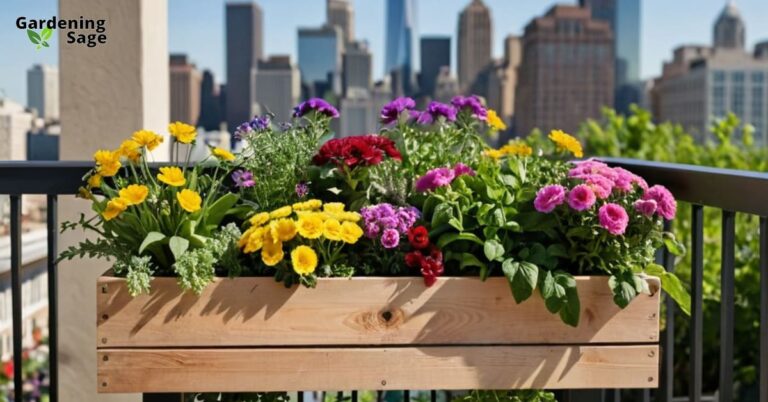
By working in harmony with nature, no-dig gardening offers a chemical-free, sustainable way to grow robust flowers, herbs, fruits, and vegetables. Give your back a break and let no-till cultivation take your garden to new heights!


